My local library has this set of four videos so I decided to check them out. I'm such a visual learner that I need to see really great photos or illustrations of a process, or even better a live demonstration!
I found watching these videos extremely helpful. The presenters are a bit wooden but very knowledgeable. I really appreciated seeing how the process of how to cut a paper pattern. How to pin a muslin mock-up and how to transfer those changes to the paper pattern was also very helpful. Also, just seeing examples of poor fit on a live model helped me to discern what problems I have with fit.
So I highly recommend this set of videos. They will be going on my amazon wish list for Christmas for sure.
October 26, 2010
October 19, 2010
Pretty in Pink
Oh Molly Ringwald, How I wanted to be you when I grew up.
I can't believe I've seen Sixteen Candles approximately 11, 567 times, but I survived to the ripe old age of 36 without seeing Pretty in Pink.
So last weekend, it came on television and I watched it.
There were so many things I enjoyed about this movie. Annie Potts dressed as a punk rocker....Duckie's remarkable fashion choices... Andrew McCarthy's blue eyes.
It seemed so apropos, since I'm doing this redux blog. Molly's character was the original wardrobe reduxer! I was hanging on the edge of my seat to see what she's do to combine those two pink gowns, one from her dad, and one from her friend, into a new fabulous prom dress.
I was sorely disappointed when this walked out. Not what I would have done, even in 1985. But what a fun movie!

I can't believe I've seen Sixteen Candles approximately 11, 567 times, but I survived to the ripe old age of 36 without seeing Pretty in Pink.
It seemed so apropos, since I'm doing this redux blog. Molly's character was the original wardrobe reduxer! I was hanging on the edge of my seat to see what she's do to combine those two pink gowns, one from her dad, and one from her friend, into a new fabulous prom dress.
I was sorely disappointed when this walked out. Not what I would have done, even in 1985. But what a fun movie!

Jeans Completed
So I decided I really didn't want to draw attention to the hem of the pants, so I went a different direction. I decided to use a decorative stitch on my machine to cover the faded mark from the previous hem.
I started with a sample on an old piece of muslin. Unless I'm just playing around, I always make a little sample. It is important to test your thread tension, stitch length, etc.
 I also changed the needle on my machine. I just learned about Universal needles and how they were made to be used on both cotton fabrics and knits. So I put in a Universal needle, in a size smaller than I usually use.

I used a dark navy blue thread. I thought I might need a stabilizer, but these jeans are quite sturdy and elastic. I tried the decorative stitch on the very bottom of the jeans first, which ended up being folded up into the final hem.
Here is a comparison between the jeans before the stitch (L) and after (R).
 The trickiest part of this process was not catching the underside of the pants while sewing.
For the final hem, I folded the raw edge under 1/4", then folded it in again 1/4" and pressed it with a hot iron. Instead of using my sewing machine's blind hem stitch, I just sewed a straight stitch with the wrong side of jeans turned out so I could go along the edge of the turned under seam.

While I was reduxing these jeans, I wanted to fix one more issue. I bought them with this strange button closure on the back, between the back belt loops. I guess you could use it to adjust the waist, but I didn't need it. It just made a wierd lump on my back. So I took it off!
 The trusty seam ripper to the rescue again!

 Here's the finished product! You can see in the background that my hubby was watching The Incredible Hulk, when I interrupted him to take photos!
I started with a sample on an old piece of muslin. Unless I'm just playing around, I always make a little sample. It is important to test your thread tension, stitch length, etc.


I used a dark navy blue thread. I thought I might need a stabilizer, but these jeans are quite sturdy and elastic. I tried the decorative stitch on the very bottom of the jeans first, which ended up being folded up into the final hem.
Here is a comparison between the jeans before the stitch (L) and after (R).

For the final hem, I folded the raw edge under 1/4", then folded it in again 1/4" and pressed it with a hot iron. Instead of using my sewing machine's blind hem stitch, I just sewed a straight stitch with the wrong side of jeans turned out so I could go along the edge of the turned under seam.

While I was reduxing these jeans, I wanted to fix one more issue. I bought them with this strange button closure on the back, between the back belt loops. I guess you could use it to adjust the waist, but I didn't need it. It just made a wierd lump on my back. So I took it off!


October 5, 2010
Hem: Auditioning Possibilities
I washed the jeans with the hopes that the old hemlines would relax a bit. I was disappointed to see that they did not relax at all. So I ironed them on high heat with steam and some starch alternative.


I went through my bin of trims. I didn't find a lot of possibilities (Christmas ribbon and rick rack wasn't doing it for me) but I did find a few.


So I decided to audition a few fabrics from my quilting stash.


 These two photos are the same fabric, just folded differently for different effects.
Maybe an autumn feeling?

Nah, but this print did make me think of a technique. It's a quilting technique but it would be really interesting. French braids!

I could use lots of interesting fabrics together and not be limited to just one. I hate having to choose just one of anything!
I shall have to choose carefully though. I could see how this look could quickly become too "hippy chick." Not that there's anything wrong with hippy chicks, I just don't care to dress like one.
October 4, 2010
My First Project: Altering a Hem
It's the curse of the tall woman: I had a pair of wide leg jeans in my closet that I never really wore because they were too short.
 I have a bit of experience hemming things, from sewing a few garments. So how hard can it be to rehem a pair of pants? Ok, they're not trousers. They're stretch denim jeans. But it still can't be that hard, right?

 I have a bit of experience hemming things, from sewing a few garments. So how hard can it be to rehem a pair of pants? Ok, they're not trousers. They're stretch denim jeans. But it still can't be that hard, right?
After a bit of examination, I can see that ripping out the hem seam will be a relatively simple process. The hardest problem is the very stretchy, thick elastic thread. I pull out my handy, dandy seam ripper. Do you own one of these? If not, you should.

All I did was run that bad boy around the whole hemline until all the stitches were loose.
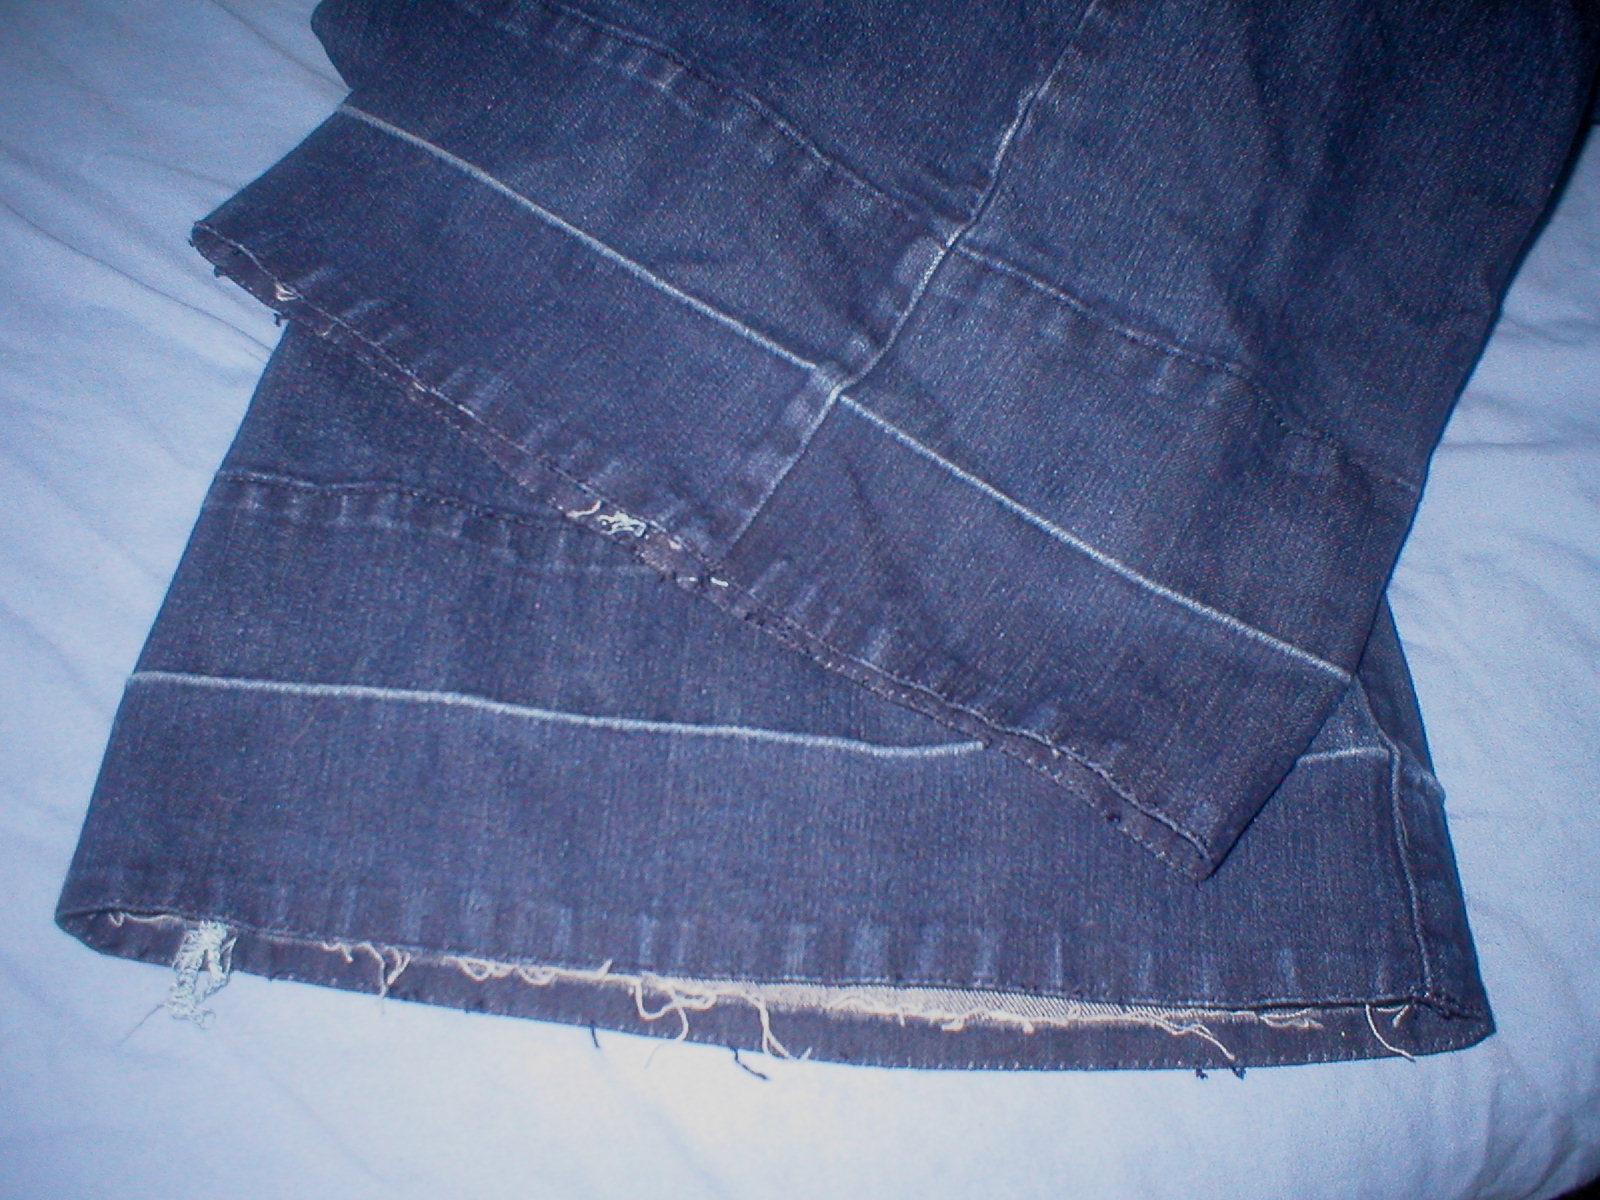
So here they are, with the hem let out completely. This adds about five inches of total length, more than enough to make them non-high-waters!
But look at that lovely line where the previous hem was turned and pressed . Hmmm, how to hide that? I will have to consider. Trim? Fabric ink or paint? Permanent marker?
Next installment: Putting in a new hem.
Book Review: The Science of Sexy by Bradley Bayou
I'm starting my fashion research at the same place I start all my research: my local public library!
There isn't much "science" in this book. The subtitle is more honest: "Dress to fit your unique figure with the style system that works for every shape and size." After a short introduction which includes Mr. Bayou's "Conceal and Reveal" strategy, and his "Ten Dress Sexy Commandments," I was instructed to take my measurements and refer to a chart for my color. My measurements gave me my body shape, and the color chart referenced my height and weight. I was sent to a "fitting room" in the back of the book, taking my height, weight, and body shape into consideration.
I am a "Tall Plus Rectangle." I have a thick waist (all those post babies pounds), but at least my broad shoulders and wide hips are balanced. I am supposed to wear clothes that create the illusion of a slimmer waist, like wrap shirts and dresses, surplice tops, v-necks, and boatneck tops. I should wear empire waists, and avoid drop waists. I should wear slightly flared skirts and straight or bootleg pants. I should keep my patterns and accessories in a medium to large scale. I can show off my legs. I should wear pointy toed shoes, peep toe heels, and no squared toed shoes. I should choose princess seamed jackets, and avoid doubled breasted anything, long, straight coats, and anything that is shiny, stretchy, or clingy around my middle. I should also avoid belts. Which is good to know, since I'd been looking around for belts lately!
I didn't learn much that I didn't already know. I need to remember not to wear clingy t-shirts without a jacket, as this emphasizes that spare tire around my middle. I need to invest in some new shoes this winter, so I will try to follow Mr. Bayou's recommendations on that point.
Subscribe to:
Posts (Atom)