April 19, 2011

New Acquisitions

A friend from my quilting guild recently gave me a TON of sewing patterns.


Another friend gave me a basket full of tailoring tools that she does not use anymore.

Tailoring hams, ironing forms, and clappers, oh my!

February 14, 2011

Experimenting with Bleach

I wanted to spice up a plain black 3/4 length sleeved shirt that someone gave me. I liked the fit of it and it was in pretty good shape except for a little bleach spot at the hem on the front. That gave me the idea of a design using "discharging", or bleaching. I bought a Clorox bleach pen. I like this tool, it has two ends, one for finer lines and one for thicker lines.  The gel is also thick like fabric paint, not a liquid bleach. It is perfect for drawing.

I chose a design first. I used a rose of sharon quilt block design from one my books. I prepped the shirt by removing cat hair and lint, and placing a large piece of cardboard inside the shirt to protect the back of it from getting bleached. I traced a square ruler on point to mark out a space, using a white chalk pencil, which will wash out easily. 

I freehanded the design with the bleach pen. I have a lot of experience doing this sort of thing. I used to make ceramic ornaments and I decorated them with liquid slip (clay), and I have made a million cookies decorated with royal icing and a piping bag. If you are not confident with this skill, just use the chalk pencil to draw before bleaching, or trace the design on a lightbox.  You could also perforate the lines of a drawing on paper and use loose chalk or baby powder to pounce the design onto the shirt.


Despite being fairly confident freehanding the design, I would do a lot of things differently next time. First, I would buy two bleach pens. I went through almost a whole one on this design. I would hate to run out of bleach mid-project. I suggest shaking the bleach down into the tip of the pen and trying it out on a paper towel to get out any bubbles. Work as quickly as you can so the bleach doesn't spread too much, and the application over the whole design looks consistent. 

Let the bleach sit on the shirt a few minutes while you prep your washing machine. Start a medium load with cold water. I rinsed the majority of the bleach off in the sink. Be careful moving the shirt from the workspace to the sink. If you wrinkle it up the bleach will get smudged. Next time I will used a piece of plastic inside the shirt instead of cardboard so I could keep it in the shirt durning the initial rinse.


I threw the shirt in the filled washing machine, and machine dried it.  I like the result, despite the messiness. This is far from an exact science. I plan to work more into the design with thread or paint or both. Stay tuned for the next phase!

January 31, 2011

Belle Armoire

At a recent trip to Joann's I picked up a copy of Belle Armoire.  I don't do jewelry making so I wasn't too interested in the articles dealing with how to make the jewelry, although I loved looking at the beautiful photos.  But I loved reading the article about Alabama Chanin's amazing clothing line.  There was a wide variety of high quality work by various fiber artists.

I was bummed to see that an article discussing scarf design did not include the knitting pattern for the author's beautiful example. I had to go to her etsy shop and buy the pattern for $7. 

But I was excited to see they are always looking for submissions and host challenges all the time. The next deadline for submissions is only two weeks away. If I work frantically, can I get something in on time?

January 25, 2011

New to Me Tools


Point presser/clapper makes ironing easierNo, it's not a doorstop! Here's an invaluable piece of equipment that sells for around $20. It's a classic, hardwood pressing tool that's really two tools in one. The top, narrow-surfaced, point presser side works like a tiny ironing board for pressing hard-to-reach seams and enclosed corners, like those on collars, lapels, and cuffs.

A point presser is invaluable for pressing hard-to-reach seams. Slip the seam, wrong side up, over the point and press open.

The bottom, clapper side is used to apply pressure to set permanent creases, form crisp edges, and flatten bulky seams. To use it, first apply steam to the area with your iron, then press with the clapper, leaning on it and applying as much pressure as possible. Hold this position until both the fabric and wood (which presses the steam into the area without adding heat) have cooled.

Buttonhole gauge simplifies positioning buttonholesThis exotic device, which costs around $15, looks complex but actually simplifies positioning and measuring buttonholes, pleats, tucks, or anything else needing to be evenly spaced. It's a great time-saver, because it eliminates the need for calculating and carefully measuring intervals. It's easy to use--simply mark the position of the top buttonhole or first pleat, for example, and stretch the gauge to fit. I think I can use this tool for marking smocking lines, too. I really need this tool!

A firmly packed, "ham"-shaped cushion used to press curved seams. The contoured shape helps to mold and shape darts, collars and seams.

December 17, 2010

Jackets I've Made

I am on a quest for the perfect jacket pattern to fit my body. I own seventeen patterns, only 3 of which I've actually made.


This was my first attempt at a sweatshirt jacket, from this book. These jackets, made by disassembling a store-bought sweatshirt, quilting the pieces and reassembling it, are everywhere in the quilting world. Most of them are pretty frumpy, but I thought the patterns in this book were cuter and more modern.  Overall the process was pretty simple and straightforward. Unfortunately, I didn't do a muslin run through, and I didn't know enough to alter the pattern to fit my body so I ended up with a jacket that was really cute, but way too narrow to fit my linebacker shoulders. I lengthened the sleeves, but did it at the end of the sleeve instead of higher up the sleeve, so they were also too snug in the forearms. Fortunately it fits my sister, who is its proud owner. I think if I do this again, it will be a very different process.


This is an unlined jacket I made from this pattern. The fabrics are from the floragraphix collections, leftover from a quilt I made for my sister and brother-in-law.  I wear this occasionally. It's really big on me.  I definitely need to do some refining to the fit. It's made to be oversized but it's really huge. Maybe I just need to make a size down (could it be that easy?).


This is a jacket I made. I used this basic kimono vest pattern but I added sleeves. I used an organdy that was already embellished with ribbon for the body (no I did not sew all that down myself, lol).  I really like the pleated styles that I'm seeing everywhere right now, so I tried my hand at making pleats along the facing.  I used all kinds of scraps in black and white and I love the way it turned out.  I am going to add a binding along the sleeve and hem edges to finish it up, in time to be in the quilt show in March.

My latest endeavor is making this pattern.  A member of my guild made this and I fell in love with it. It is about half way complete, and has been for months, patiently waiting in a plastic bag for me to get my act together. Can I finish it in time to wear it in the spring?

November 8, 2010

Scarves

I love scarves. I love that scarves are totally in fashion right now. I've always been a bit intimidated by wearing them.  I grew up in Louisiana where it was rarely cold enough to wear winter clothing. The climate I live in now (near Washington DC) is perfect for a cozy scarf, so I've been looking for ideas for making them and wearing them.

Scarves are not just utilitarian. I think scarves can really add to an outfit.  It's a great way to add an accent color or pattern or texture to wardrobe basics.

Scarves can also flatter! They can create that deep V-neckline that is so flattering, or they can cover a not-so-young neckline.  They can substitute for jewelry and draw attention up to your face.

I started by doing an inventory of what I already own.  I have a lot of silk and silk-like scarves. They're a nice, light accent to an outfit, but not particularly warm.  I think of wearing them more in the springtime, especially since I have mostly spring colors in my collection.


I have lots of knitted and crocheted scarves, too.  They are warm, but I find most of them itchy and too bulky for all but the coldest weather.


When I saw a tutorial for a flannel scarf, I thought it was a brilliant idea! Flannel pajamas are about the most comfortable thing in the universe, and the idea of something that feels like that wrapped around my neck on a cool windy day sounds like heaven.  They are so simple to sew, they work up much faster than a knitted or crocheted scarf, plus the flannel is generally cheaper to buy than nice quality yarn.

Of course, I ran straight to Joann's and bought some flannel. There are some really neat prints available these days, not just solids, or juvenile prints for a nursery.  Here are the two scarves I made.


I'm obsessed with ruffles and pleats right now, so I added ruffles to both of mine.  I made the blue floral one to go with jeans, denim jackets, and the loads of red and burgundy I have in my closet.

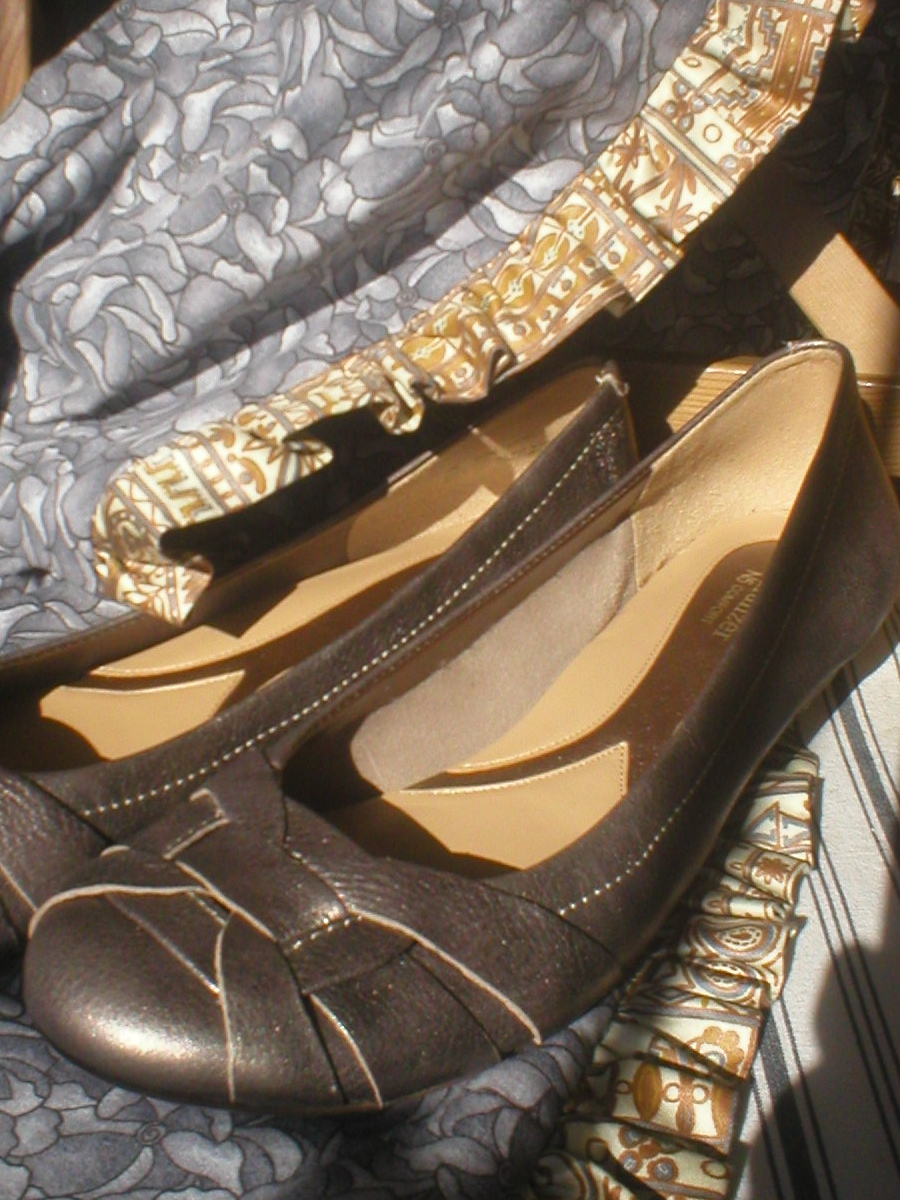
I made the silver and gold one to coordinate with the new pair of metallic flats I just bought.  Metallic shoes are very "out there" for me, but I'm told that metallics are neutrals.


Here are some tutorials for this super-simple sewing project. 
Make it and Love it's Gathered Flannel Scarf
luvinthemommyhood's Infinity and Beyond Scarf
Modern Organic Fabric's Easy Ruffle Trim Scarf

With the holidays coming up, these make great gifts that work up very quickly and easily.

October 26, 2010

Review: Threads Fitting DVD Series

My local library has this set of four videos so I decided to check them out. I'm such a visual learner that I need to see really great photos or illustrations of a process, or even better a live demonstration!

I found watching these videos extremely helpful. The presenters are a bit wooden but very knowledgeable. I really appreciated seeing how the process of how to cut a paper pattern.  How to pin a muslin mock-up and how to transfer those changes to the paper pattern was also very helpful.  Also, just seeing examples of poor fit on a live model helped me to discern what problems I have with fit.

So I highly recommend this set of videos.  They will be going on my amazon wish list for Christmas for sure.